When it comes to a sumptuous and savory meal, prime rib takes the crown. This cut of beef is known for its tenderness, juiciness, and rich flavor. If you want to impress your guests or simply treat yourself to a special meal, mastering the art of cooking prime rib is a must. In this comprehensive guide, we’ll walk you through the process, from selecting the perfect prime rib to serving it likе a pro.
Selecting the Right Prime Rib
Choosing the Cut
Selecting the right prime rib is the first step to culinary success. Look for a bone-in prime rib roast weighing between 6-8 pounds. The bone enhances the flavor and juiciness of the meat.
Seasoning and Preparation
Before you start cooking, season the prime rib with 2 tablespoons of olive oil, salt, and pepper. For an extra burst of flavor, consider inserting optional garlic cloves into the roast using a paring knife.
Cooking the Perfect Prime Rib
Initial Roasting
- Preheat your oven to a scorching 500°F (260°C).
- Place the prime rib roast on a rack in a roasting pan.
- Rub the roast with olive oil and generously season it with salt and pepper.
- If desired, you can insert garlic cloves into the roast using a paring knife for a delightful infusion of flavor.
Roasting to Perfection
- Place the roasting pan in the oven and roast the prime rib at 500°F for 15 minutes. This high-temperature initial roast will seal in the juices and create a flavorful crust on the outside.
- Reduce the oven temperature to 325°F (160°C) and continue roasting the prime rib until it reaches your desired level of doneness. Use a meat thermometer to check the internal temperature for precision. For medium-rare, aim for 135°F (57°C). Medium enthusiasts should target 140°F (60°C), while those who prefer well-done should go for 150°F (66°C).
- Remove the roast from the oven and allow it to rest for 15-20 minutes before slicing and serving. Resting is crucial to retain the juices and ensure a succulent prime rib.
Unlocking the Mystery: The Significance Behind Black Dots on Your Car’s Windscreen You Need to Understand
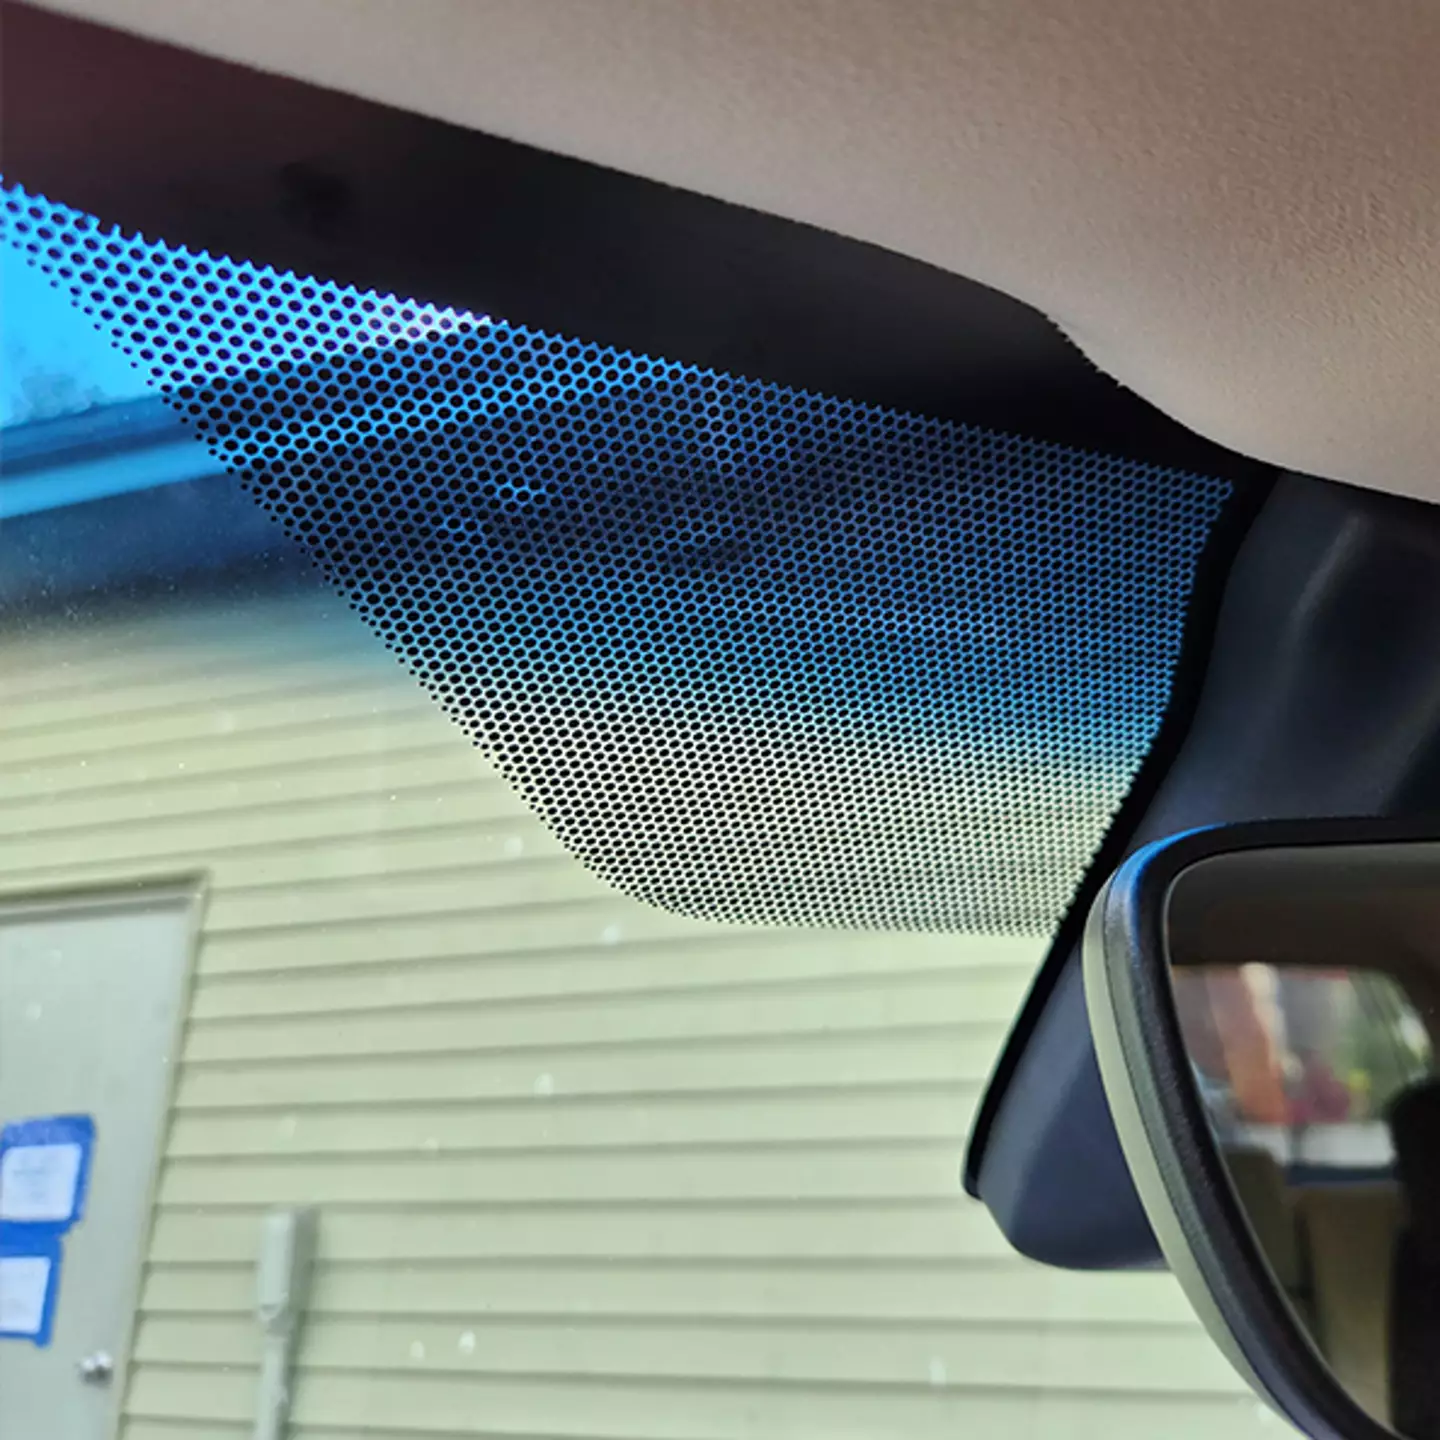
Experts praise the black dots on automobile windshields as a technical marvel that are crucial to overall performance while being frequently ignored. These dots are a component of the frit band, a textured enamel paint strip that surrounds the edge of the windshield. This band is essential for improving the grip of the adhesive and glass, which guarantees the windshield is securely attached to the vehicle.
In addition to serving as structural elements, the black dots cover the glue from UV rays that could be harmful. This protection stops extended sun exposure from degrading the adhesive bond over time.
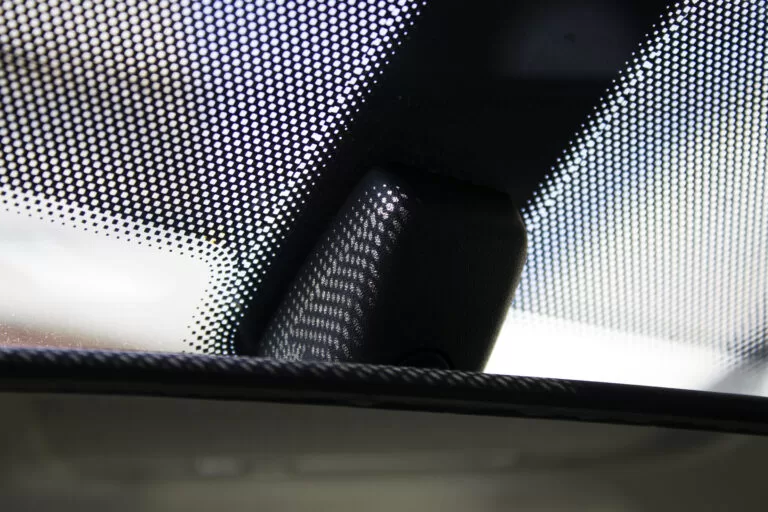
The dot matrix, which is made up of ever smaller dots, helps to ensure that the temperature is distributed evenly across the windshield during the production process. By taking this proactive step, optical distortion or “lensing” is avoided, guaranteeing that straight lines on the glass stay true.
The slow fading of the black dot matrix is responsible for the visually pleasant transition from the transparent glass to the black frit border. Furthermore, by strengthening the windshield’s structural integrity, this design decision reduces the likelihood of damage.
Essentially, those seemingly insignificant black spots on your windshield have a multitude of functions and are essential to the complex machinery of your car.


Leave a Reply